Tiki culture has been an enduring symbol of laid-back tropical living since the mid-20th century. With its roots in Polynesian mythology and its signature blend of kitsch and authenticity, tiki culture has captured the imaginations of people around the world. One of the most iconic features of tiki culture is the tiki huts, a thatched-roof structure that provides shade, shelter, and a sense of escape from the daily grind.
The purpose of this guide is to provide you with a step-by-step approach to creating your own dream tiki paradise. Whether you’re looking to create a backyard oasis, a commercial tiki bar, or anything in between, this guide will give you the tools and knowledge you need to make your vision a reality. We’ll cover everything from choosing the right type of tiki hut for your needs to designing and building your paradise, as well as tips for maintenance and care.
So, whether you’re a long-time tiki enthusiast or just starting to explore this unique culture, this guide is for you. Let’s dive in and start creating your dream tiki paradise!
Getting Started
Before you start designing and building your dream tiki paradise, it’s important to get started with the basics. In this section, we’ll cover the three key steps to getting started: assessing the available space and resources, choosing the right type of tiki hut for your needs, and establishing a budget.
Assessing the available space and resources is the first step to creating your dream tiki paradise. Take a look at your property and determine where you have the space to build a tiki hut. Consider the size of the space and the terrain. Make sure there is enough room to accommodate your desired size of a tiki hut, as well as space for other features like seating, landscaping, and lighting.
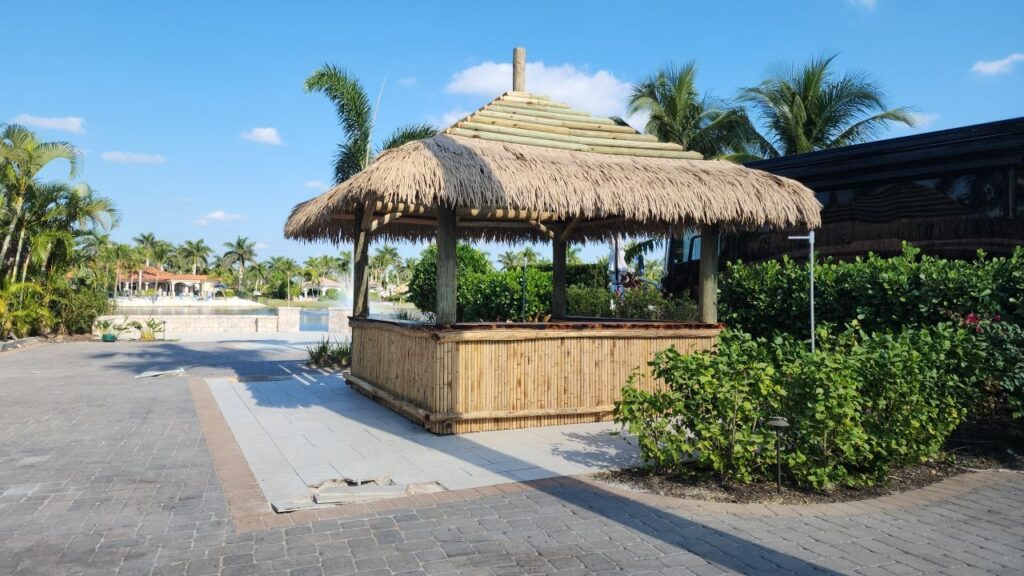
Next, you’ll want to choose the right type of tiki hut for your needs. Tiki huts come in a variety of sizes, styles, and materials, so it’s important to choose the one that’s right for you. Consider factors like the amount of shade you need, the level of privacy you desire, and the amount of maintenance required. For example, if you live in an area with harsh weather conditions, you may want to choose a more durable tiki hut made from materials like bamboo or synthetic thatch.
Finally, it’s important to establish a budget for your tiki paradise project. Consider the cost of materials, labor, and any additional features you want to include, such as lighting or landscaping. Be sure to also include a buffer for unexpected expenses. Once you have a budget in place, you’ll be better equipped to make decisions about what features to include and how to approach the project.
By following these three key steps, you’ll be well on your way to creating your dream tiki paradise. In the next section, we’ll dive deeper into the design process and discuss how to choose a theme and select the right materials for your tiki hut.
Designing your Tiki Paradise
Now that you’ve assessed the available space and resources and established a budget, it’s time to dive into the fun part of creating your dream tiki paradise: designing it!
Choosing a theme or concept for your tiki hut
The first step in designing your tiki paradise is choosing a theme or concept. Whether you’re going for a classic tiki vibe or something more unique, having a clear vision of your space will make it easier to select the right materials, colors, and features. Think about the kind of atmosphere you want to create and what kind of activities you plan to do in your tiki paradise. Do you want a more traditional tiki bar feel, or something more family-friendly?
Selecting materials and colors that match your theme
Once you’ve chosen a theme, it’s time to select the right materials and colors to bring your vision to life. Thatched roofing is a classic tiki feature, but there are other materials like bamboo, palm leaves, and synthetic thatch that can give your tiki hut a unique look. When it comes to colors, think about the mood you want to create. Bold, bright colors can create a lively atmosphere, while more muted, natural tones can give your space a relaxing feel.
Incorporating features such as lighting, seating, and decor
Incorporating features like lighting, seating, and decor is the next step in designing your tiki paradise. Consider adding lighting features like tiki torches, string lights, or lanterns to create a warm, inviting glow in the evening. Seating is important as well – whether you’re looking for a bar, lounge chairs, or a family-style dining area, make sure there’s enough seating to accommodate your guests. And don’t forget about the decor!
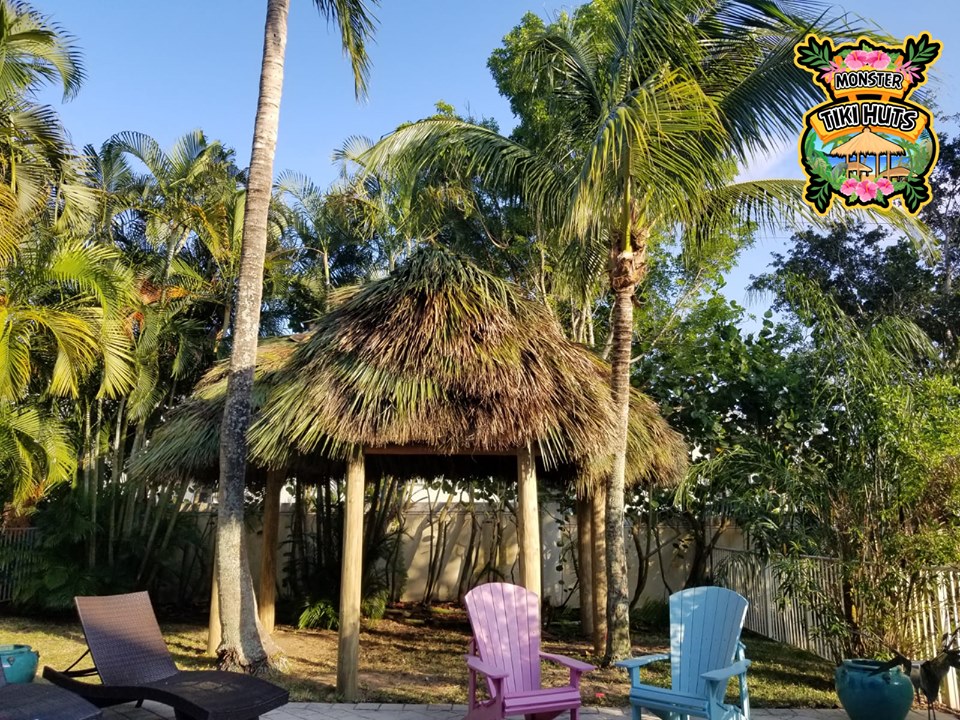
Adding plants and landscaping for an authentic tropical feel
Lastly, adding plants and landscaping can help create an authentic tropical feel in your tiki paradise. Consider adding palm trees, tropical flowers, or other plants that thrive in your climate. And don’t forget about water features – a small fountain or pool can add a refreshing touch to your tiki paradise.
Building Your Tiki Hut
It’s time to start building your tiki hut now that you have a design strategy in place. We’ll go over the procedures you must follow to construct your tiki house from the ground up in this part.
Choosing a location and preparing the site
The first step is choosing a location and preparing the site. Make sure the location you’ve chosen is level and clear of any debris or obstacles. You may need to clear trees or brush or level the ground to create a sturdy foundation for your tiki hut.
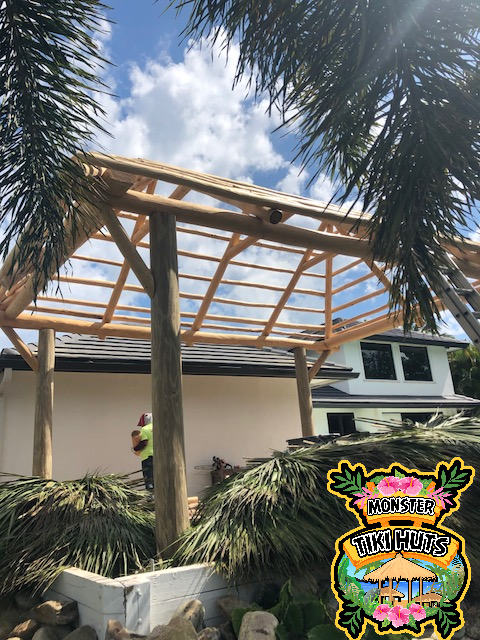
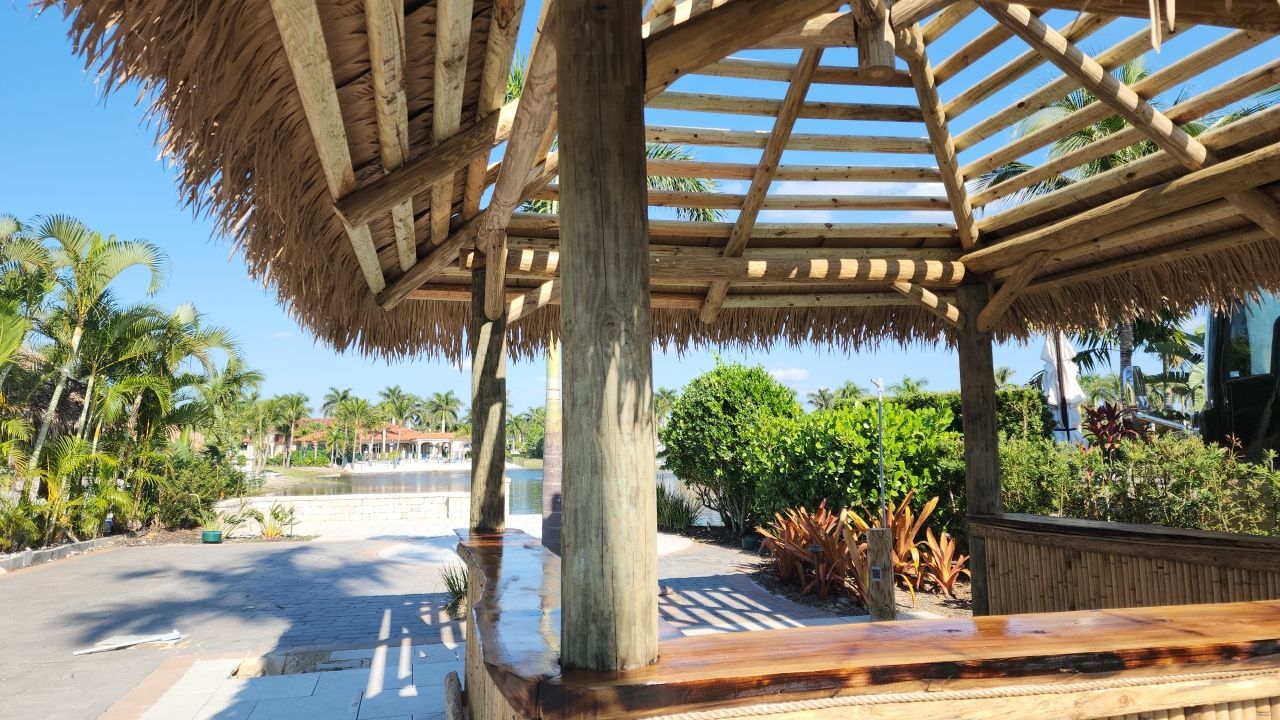
Building the frame and roof of your tiki hut
Next, you’ll need to build the frame and roof of your tiki hut. This step can vary depending on the type of tiki hut you’ve chosen to build but typically involves using sturdy wooden posts as the foundation of the structure. You’ll then attach horizontal beams to the posts and lay the roof on top of the beams. This is where you’ll add your thatching or other roofing material to create the signature tiki hut look.
Installing electrical and plumbing if needed
If you plan on having electrical or plumbing in your tiki hut, now is the time to install it. Depending on the complexity of your project, you may want to hire a licensed professional to handle this step.
Applying finishing touches such as thatching and trim
Afterward, you’ll add the tiki hut’s finishing touches, such as thatching and trim. Thatching can be done with natural materials like palm leaves, or synthetic materials like vinyl. Once the roof is complete, you can add trim to the exterior of your tiki hut to create a polished look.
Maintenance and Care
Congratulations on creating your dream tiki paradise! To guarantee that your tiki hut lasts for many years to come, it is now crucial to maintaining good condition. In this section, we’ll go over some tips for maintaining and caring for your tiki hut.
The first step is to keep your tiki hut clean and clear of debris. Regularly sweep the floors and surfaces to keep them free of dirt, leaves, and other debris. Additionally, make sure to check for any signs of wear and tear, such as loose thatching or damaged posts, and make repairs as necessary.
When it comes to thatched roofing, it’s important to regularly clean and preserve it to prevent mold and decay. You can clean your thatch roofing by gently hosing it down with water and using a soft-bristled brush to remove any dirt or debris. To preserve the thatching, you can apply a coat of clear sealant to the surface of the thatch.
It’s also important to prepare your tiki hut for extreme weather conditions. If you live in an area prone to hurricanes or strong winds, make sure to anchor your tiki hut securely to the ground to prevent it from toppling over. Additionally, if you live in a particularly hot or humid area, consider applying a coat of UV-resistant sealer to the exterior of your tiki hut to protect it from the sun’s rays.
In conclusion, we’ve covered the essential stages you’ll need to take to work with Monster Tiki Huts, from assessing your available space and resources to designing and building your tiki hut, and finally, maintaining and caring for it over time.
We started by exploring the history of tiki culture and tiki huts and discussed how to assess your available space and establish a budget. We then went on to cover the key steps involved in designing and building your tiki paradise. These include choosing a theme or concept, choosing materials and colors that go with it, and including elements like lighting and décor. Then, add plants and landscaping for an authentic tropical feel.
Once your tiki hut is built, we discussed how to keep it in good condition over time, with tips for cleaning and preserving thatch roofing and preparing for extreme weather conditions.
With your dream tiki paradise now a reality, it’s time to enjoy it to the fullest! Whether you use it for outdoor entertaining, a personal relaxation space, or simply as a beautiful addition to your backyard, your tiki hut is sure to bring joy and happiness to you and your loved ones.
Remember, the possibilities for your tiki paradise are endless, so don’t be afraid to get creative and make it your own. From hosting themed parties to enjoying a quiet afternoon with a good book, your tiki hut is the perfect place to unwind and escape the stresses of everyday life.
We hope this guide has been helpful and informative, and we wish you all the best in creating and enjoying your very own dream tiki paradise!